Back in the not-too-distant past, your only option for getting any kind of offline map onto your portable GPS device was to purchase one from the manufacturer, which would then be unlocked for use on that device and nowhere else. Periodic upgrades were typically paid for as well, making ownership of useful digital maps an expensive business.
Fast-forward a couple of years and online maps gained popularity as browser technology evolved, allowing seamless panning and zooming of downloaded tiles. We saw a plethora of different providers cropping up, from Google Maps to Memorymap, Streetmap, Bing, and our own venerable Ordnance Survey. Each had a different take on what mapping should mean; Google were among the first to offer satellite overlays, Memorymap sold a companion app for offline use, Bing gave us isometric “bird’s eye” views – the first pseudo-3d experience. But all of these had one thing in common: they were online and couldn’t be used on other platforms. Until OpenStreetMap came along.
Built on the Wiki principle, OpenStreetMap “is a map of the world, created by people like you and free to use under an open licence” and it wasn’t long before people developed tools for embedding OSM data into their own applications and devices. These tools were often command-line only and required some skill to use (looking at you, mkgmap) which kept them out of the hands of many people. Fortunately, somebody had the bright idea of placing such a tool on a server, and periodically compiling whole countries worth of OSM data into Garmin compatible map files. Eureka!
Downloading OpenStreetMaps
Getting hold of Garmin compatible OSM data couldn’t be simpler, just choose the region you want, download the file, move it to your device. There are other installation options too, but the simplest approach is to download an image that your GPS can use, and copy that straight to the GPS.
- Go to http://garmin.openstreetmap.nl/
- From the radio buttons at the top, choose the type of file you want. I mostly stick with Generic Routable (new style) for most applications
- Pick a country to download using one of the six drop-down boxes. For example, if you need France then click on the Europe box and scroll down to France.
- Optional: A little way down the page, a map made up of many tiles will show you (geo)graphically what you’ve chosen. If you’re OK with this selection then chances are you can download the data straight away, but if you want to tweak the selection by adding more tiles then you can do so after ticking the check-box above the map. Don’t do this now, there’s a better way to get what you need. Read on.
- If you haven’t added any additional tiles then click on the Download map now! link to the taken to a new page with several download options.
- Choose the osm_generic_gmapsupp.zip download option to be given a single ZIP file containing gmapsupp.img, which is the OSM map for your given region and can be dropped straight onto your Garmin device. The other download options will let you install maps to your computer and then selectively copy them to your GPS, but that’s unnecessarily complicated and involves Map Manager, another Garmin utility which will probably be discontinued at some point.
What if you want more than one region?
Before I realised that you can have multiple regions on a single SD card I often performed a manual selection of OSM tiles to match whatever I was planning, instead of downloading the pre-built countries. This was a lengthy process since each time my selection would have to be built in the background by the server, resulting in a bit of a wait for the email message telling me that my custom order was ready for download. If only you could have several files called gmapsupp.img on your device at the same time!
Well, it turns out you can, just be creative with the names that you give them. Instead of sticking with the original gmapsupp.img moniker I now use a format of gmapsupp_type_country.img where type is the type of map I’ve chosen, usually OSM, and country is the region contained, e.g. gmapsupp.osm.es.img for the OSM map of Spain. This lets you keep the file names on the device unique and still carry as much coverage as your SD card allows. Both the 64 and 66 GPSMap series seem to accept this happily, though your mileage may vary with older models.

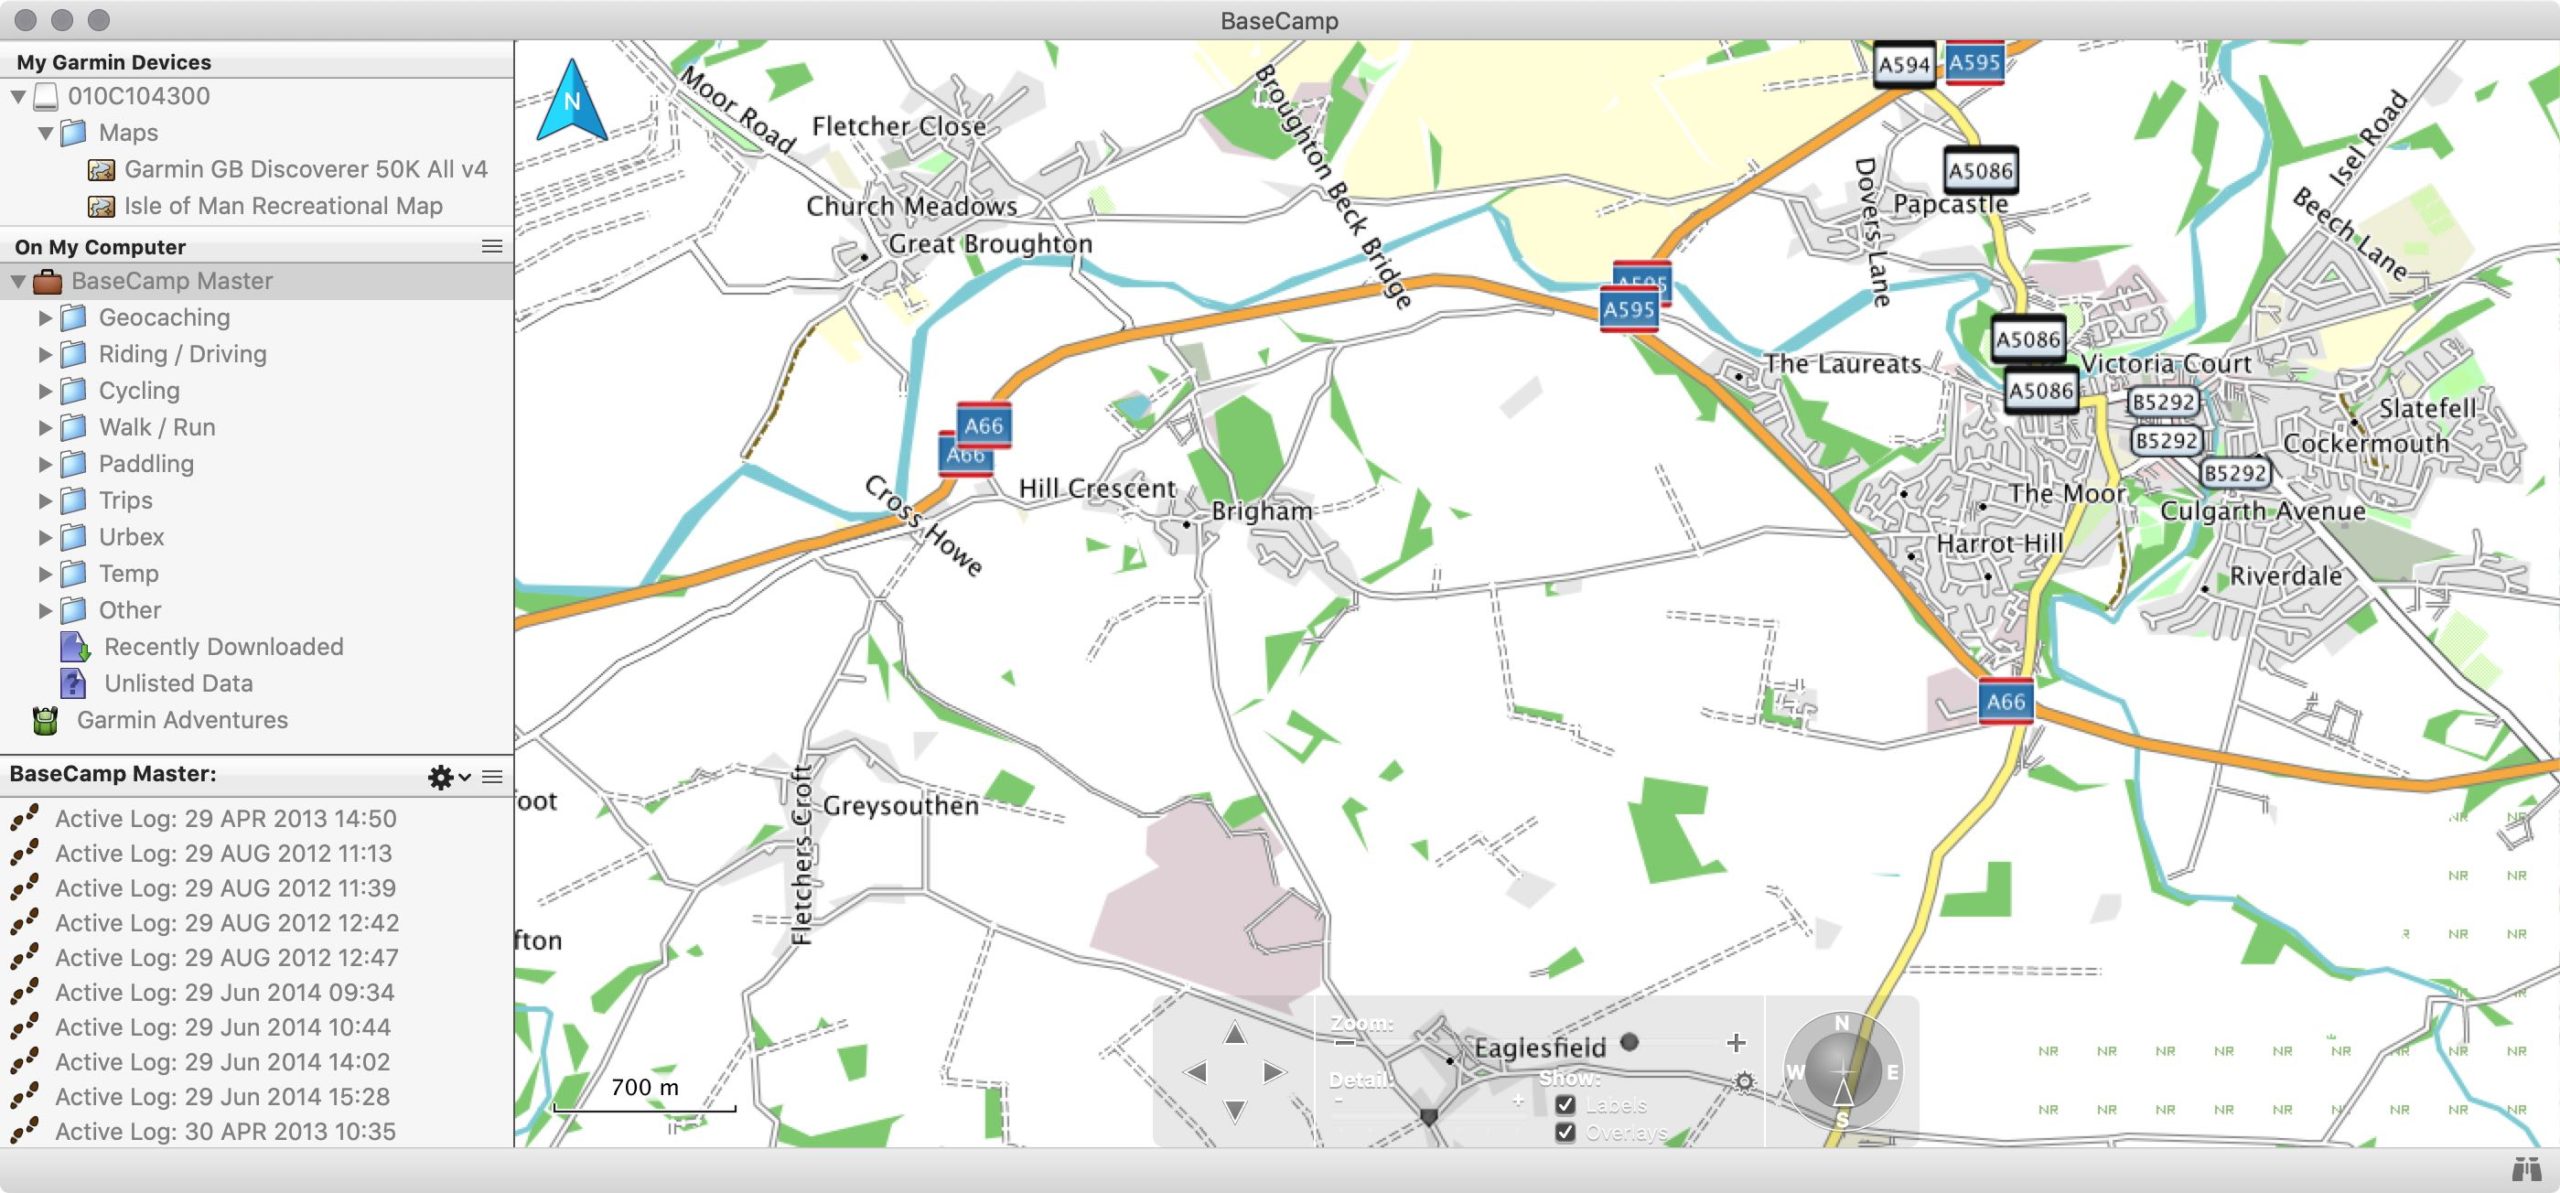
Using the maps with Basecamp
Having the mapping data installed on your GPS device is both a limitation and also a blessing, depending on your point of view, because you need to have the GPS connected via USB to your laptop in order to use those maps with Basecamp. Personally I don’t think it’s much of a drawback. Yes, the maps would run marginally faster if they were installed on the laptop, but chances are that when you’re opening Basecamp you probably intend to transfer some data to / from the GPS anyway, and having the maps on the GPS saves space on the laptop and means you only have to keep one location up to date. Two points are worth noting:
- The first time you connect a device with a new map to Basecamp you’ll have to wait for an index of that device’s maps to be built before you can use the maps with Basecamp, presumably so that you can quickly search POI data. This process will take ages, but it’s a one-off so be patient and let it finish.
- If you downloaded the pre-built countries then the options under the Maps menu will have partially sensible names, making it easier to choose the map you want when using Basecamp connected to your GPS. If you went and built a custom map it will always be called Generic Routable (new style) (or whatever you chose in step #2 above) – there’s no way to change that and it gets confusing as hell when you’re dealing with half a dozen custom maps at the same time.

Closing Thoughts
With accurate, open-source map data so easily available there’s really no reason to keep paying over the odds for Garmin’s own maps, unless you have some very specific requirements or run into issues with routing, which can admittedly be a bit hit-and-miss on open source. Assuming Garmin even has mapping for your region – head off the beaten track and OSM is often the only way to go.
Buying an ST model?
You may also want to reconsider your purchase if you’re thinking of buying a handheld GPS which comes bundled with topographic maps, like Garmin’s GPSMap 64st here in the UK. Those included Ordnance Survey maps look pretty at first, but they’re essentially raster images, not optimised for a small screen, contain no routing or POI data, and don’t zoom well at all. Whenever I’ve used OSGB (or Isle of Man Leisure Map) files I tend to keep them only for reference, usually switching off those layers in favour over OSM.


To make things even more restrictive, the IMG files containing the topographic data will be locked down to the SD card on which they’re delivered, and that’s typically a small, cheap specimen. You can add your own files to this card until it fills up, but you can’t copy the ‘purchased’ topographic files to a bigger card and use them from there. (though you can create an image for use with Basecamp when your GPS is not attached)
Long story short: if the ‘S’ version of your chosen device is cheaper than the ‘ST’ version then just go with ‘S’ since the topographic maps add very little value in practice.